How to Speed Up Windows 11: Ultimate Performance Guide
So, your shiny new operating system is feeling a little sluggish? Trust me, you’re not the only one dealing with this. Microsoft really knocked it out of the park with the beautiful redesign, beefed-up security, and neat productivity features in Windows 11. But let’s be honest—straight out of the box, it can feel a bit bloated. Things like high disk usage, overly flashy visual transitions, and endless background processes have a way of dragging down even top-tier hardware.
It doesn’t matter if you’re a developer compiling massive codebases, a gamer chasing maximum framerates, or just someone who wants a computer that actually responds when you click something—optimizing your PC is a must. If you’re trying to figure out how to speed up Windows 11, you’ve landed in exactly the right spot. In this guide, we’ll peel back the curtain on what’s actually slowing your system down. From there, we’ll walk through a few easy quick fixes and explore the advanced technical tweaks IT professionals rely on to unlock peak performance.
Why Your PC Lags: Understanding How to Speed Up Windows 11
Before we start flipping switches and changing settings, it helps to understand why your system is dragging its feet in the first place. Windows 11 was built on a fairly heavy architecture, designed specifically to handle modern security protocols and rich, dynamic UI elements. The catch? All those bells and whistles demand a ton of system resources.
- Virtualization-Based Security (VBS): Microsoft turned VBS on by default for a lot of Windows 11 machines. It’s fantastic for keeping malware at bay, but it creates a virtualization layer that can actually tank your processing speed by up to 15%—especially if you’re gaming or running CPU-heavy workloads.
- Visual Bloat and Animations: The new Fluent Design system brought us slick transparency effects, acrylic blurs, and fancy animations. However, if you’re running on integrated graphics or an older GPU, rendering all that eye candy eats up valuable CPU and GPU cycles.
- Background Telemetry and Services: Under the hood, Windows 11 is constantly chatting with Microsoft’s servers to share diagnostic data. Throw in some pre-installed OEM bloatware and background apps, and suddenly your system’s RAM and disk I/O are working overtime for no good reason.
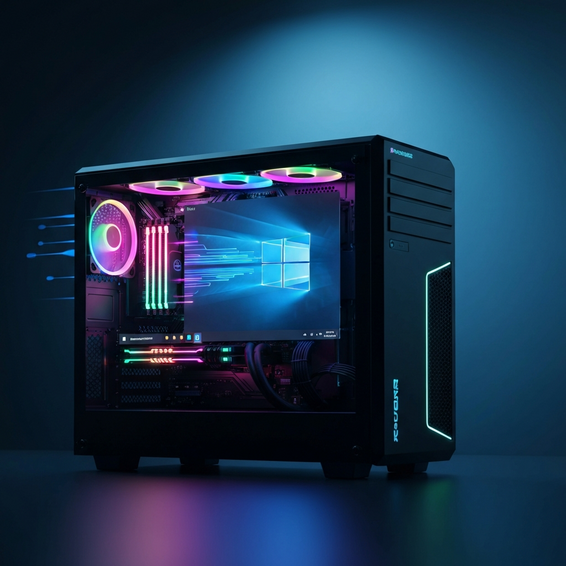
- Hardware Bottlenecks: Are you still running your OS on an old-school Hard Disk Drive (HDD) instead of an NVMe SSD? Or maybe you have less than 16GB of RAM? If so, your system is heavily relying on the paging file, which will absolutely crush your overall responsiveness.
Quick Fixes: How to Speed Up Windows 11 Instantly
You don’t have to be a seasoned systems administrator to make your computer noticeably faster. In fact, here are a few of the most effective, straightforward adjustments you can make right now to see an immediate boost in speed.
1. Disable Unnecessary Startup Apps
Every single time you boot up your PC, dozens of applications might be silently launching in the background. They just sit there, quietly eating up your RAM and CPU power. Shutting them down is arguably the fastest way to slash boot times and reclaim your memory.
- Press Ctrl + Shift + Esc to pull up the Task Manager.
- Click over to the Startup apps icon located on the left sidebar.
- Sort your list by clicking the “Startup impact” column.
- Find those non-essential programs (think Skype, Spotify, or cloud storage clients you barely touch), right-click them, and hit Disable.
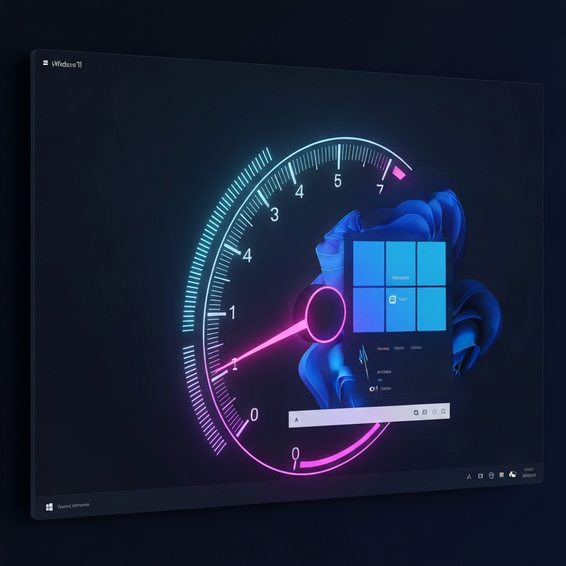
2. Turn Off Visual Effects and Transparency
If you care more about raw speed than pretty aesthetics, turning off Windows 11’s demanding visual effects is a no-brainer. Doing this instantly takes the pressure off your graphics processing unit.
- Press the Windows Key + I to launch Settings.
- Head over to Accessibility > Visual effects.
- Go ahead and toggle off both Transparency effects and Animation effects.
- Want even more performance? Press the Windows Key, search for “Advanced system settings,” and open it. Under the Performance tab, hit Settings, then select Adjust for best performance.
3. Enable Storage Sense
Running out of disk space is a surefire way to kill your system’s speed. Storage Sense is a lifesaver here—it automatically sweeps out temporary files, empties your recycle bin, and deletes useless system junk so your drive stays snappy.
- Navigate to Settings > System > Storage.
- Toggle the Storage Sense option to the on position.
- Click on the setting itself to set up custom cleanup schedules. This ensures your SSD maintains its peak read and write speeds without you having to think about it.
Advanced Solutions: A Developer & IT Perspective
Alright, so you’ve knocked out the quick fixes, but you’re still craving more horsepower. It’s time to dig a little deeper into the system architecture. These advanced techniques are the go-to moves for IT pros, DevOps engineers, and power users who want to wring every last drop of performance out of their hardware.
1. Disable Virtualization-Based Security (VBS)
Like we touched on earlier, VBS uses hardware virtualization to wall off a secure memory region from the rest of your OS. If you are building a homelab server or using your rig mostly for high-performance computing, ditching that extra security layer is usually worth the speed boost.
- Hit the Start button and search for Core Isolation.
- Find the Memory Integrity option and flip the switch to Off.
- Restart your PC. When it boots back up, you should see a measurable drop in CPU overhead.
2. Debloat Windows Using PowerShell
Out of the box, Windows 11 is stuffed with telemetry features and pre-installed Universal Windows Platform (UWP) apps that just love to run in the background. By using DevOps automation scripts and some handy PowerShell commands, you can safely strip them away.
Just open up Windows Terminal or PowerShell as an Administrator. From there, you can run a highly regarded, open-source debloat script (like the Chris Titus Tech Windows Utility). If you prefer a hands-on approach, you can manually target and uninstall specific app packages using the built-in command line.
Warning: Please, always create a System Restore point before you run automated scripts or start ripping out core Windows packages. You’ll thank yourself later if something goes wrong.
3. Optimize the Paging File (Virtual Memory)
Whenever your computer runs out of physical RAM, it borrows space from your storage drive to use as virtual memory (also known as the paging file). If Windows does a bad job managing this, your system’s performance will absolutely tank under heavy workloads.
- Open up Advanced system settings.
- In the Performance section, click Settings, then switch over to the Advanced tab.
- Hit the Change button under the Virtual memory header.
- Uncheck the box that says “Automatically manage paging file size for all drives.”
- Pick your fastest SSD, choose Custom size, and set both the Initial and Maximum sizes to roughly 1.5 times the amount of physical RAM you have.
Best Practices for Maintaining Windows 11 Performance
Optimization isn’t something you just do once and forget about. Keeping your PC lightning-fast requires a bit of ongoing love and care. To keep things running smoothly for the long haul, try to stick to these operational habits.
- Keep Drivers Updated: Running outdated GPU and chipset drivers is a one-way ticket to severe latency. Make it a habit to check your manufacturer’s website or use their official update tools to stay current.
- Run Regular Malware Scans: Sneaky cryptominers and background malware are famous for quietly hijacking your CPU and GPU power. Do yourself a favor and schedule weekly scans with a robust, trusted antivirus program.
- Avoid Registry Cleaners: It might be super tempting to download an automated registry cleaner, but they frequently do more harm than good by wiping out essential OS keys. It’s better to just stick to Windows’ native tools.
- Utilize High-Performance Power Plans: If you’re on a desktop, make sure your computer isn’t artificially throttling CPU clock speeds just to save a little energy. Head over to Control Panel > Power Options and lock in the High Performance profile.
Recommended Tools and Hardware Upgrades
Sometimes, all the software tweaks in the world won’t save you. If you are wrestling with aging hardware, a modest physical upgrade or the right specialized software can deliver a game-changing performance leap.
- Samsung 980 PRO NVMe M.2 SSD: Still running Windows 11 on a SATA SSD or an old spinning hard drive? Jumping to a Gen 4 NVMe drive is hands-down the most impactful upgrade you could possibly make.
- Corsair Vengeance LPX 32GB RAM: Windows 11 loves to eat up memory even when it’s just idling. Bumping your system from 8GB up to 16GB or 32GB guarantees seamless multitasking and keeps those dreaded paging file slowdowns at bay.
- BleachBit: This is a fantastic open-source system cleaner. It scrubs away temporary files, clears out old caches, and frees up precious space—all without forcing extra bloatware onto your machine.
- Cloud Storage Solutions: Offload your massive files from your local disk. Keeping your primary drive from hitting that 80% capacity mark is crucial, as going over it can seriously degrade your SSD’s write speeds.
Frequently Asked Questions (FAQ)
Does turning off visual effects really speed up Windows 11?
Absolutely. Turning off animations and those pretty transparency effects lifts a constant, heavy workload right off your CPU and GPU. If you’re using integrated graphics, this frees up shared system RAM, making your everyday UI navigation feel much snappier.
Will disabling VBS (Virtualization-Based Security) harm my computer?
Disabling VBS does lower your defenses slightly against highly sophisticated malware that specifically targets memory. That being said, for the average home user or gamer who practices safe web browsing and runs standard antivirus software, the security risk is incredibly low—especially when you weigh it against the very noticeable boost in performance.
How much RAM do I actually need for Windows 11?
Sure, Microsoft says 4GB is the minimum requirement, but running Windows 11 on that little memory is pretty much a nightmare for daily use. Think of 8GB as your absolute baseline for basic web browsing and office tasks. If you want consistently smooth performance, gaming capabilities, and the ability to heavily multitask, 16GB is where you really want to be.
Is it safe to use debloat scripts on Windows 11?
For the most part, yes—as long as you’re using well-documented, open-source scripts created by trusted developers in the community. Just make sure to read the documentation first, and always create a System Restore point before you run anything that alters system registries or strips away built-in packages.
Conclusion: Take Control of Your PC’s Performance
Dealing with a sluggish operating system is incredibly frustrating. It completely derails your productivity, whether you are managing complex servers, writing lines of code, or simply trying to browse the web in peace. But once you understand the root causes of that lag and apply a mix of quick fixes and deeper system tweaks, you can completely turn your computing experience around.
At the end of the day, knowing how to speed up Windows 11 comes down to striking the perfect balance between beautiful aesthetics, tight security, and raw processing power. Start small by disabling those pesky startup apps and visual effects. Then, step it up by optimizing your virtual memory and clearing out background bloat. Pair these optimizations with smart maintenance habits and solid modern hardware, and your Windows 11 PC will run faster and smoother than the very first time you booted it up.